
 Website
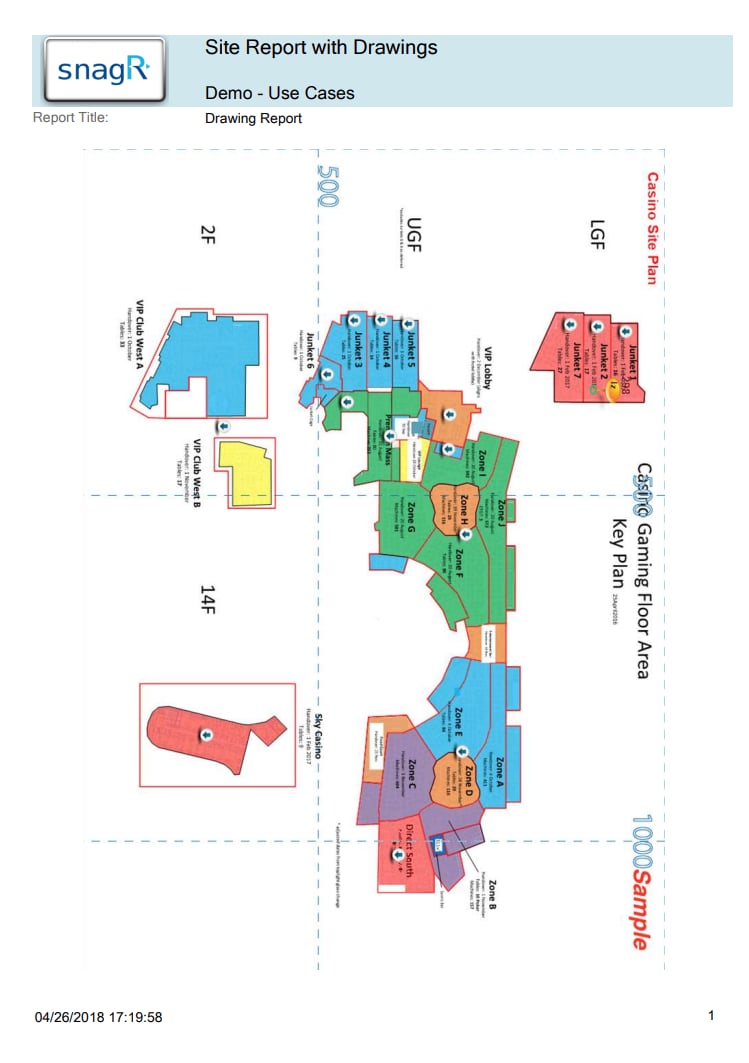
Sometimes at a project you would like to use large plans to navigate (for example a whole floor level), but if you use that drawing as a whole for the reports it will be scaled to A4. This means that the pins also are smaller.
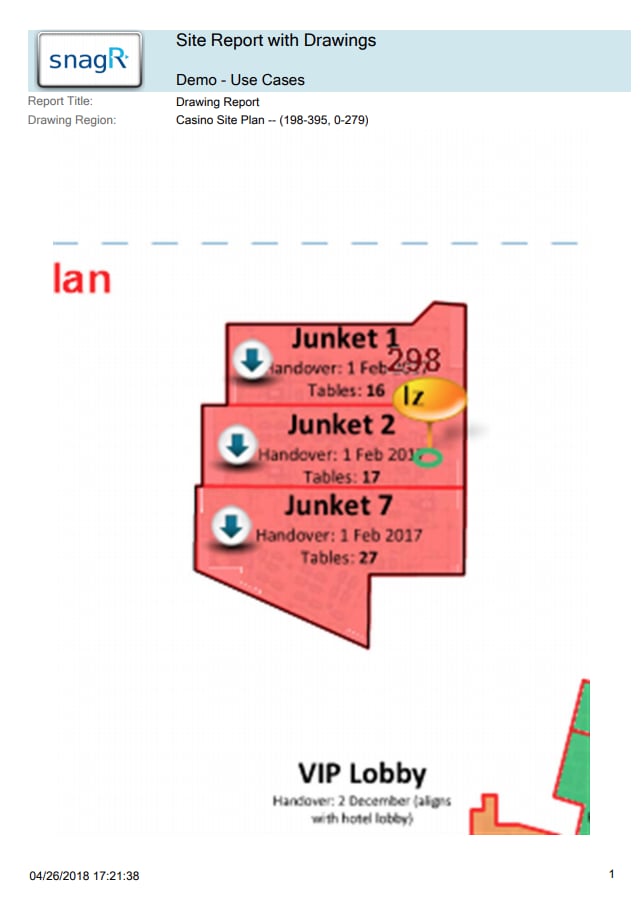
Now we have Drawing Regions. With the Drawing Regions you can split up the drawing for the reports. If you want to be able to filter on a part of the drawing you still have to split the drawings.
This is only to make the drawing better visible at the reports.
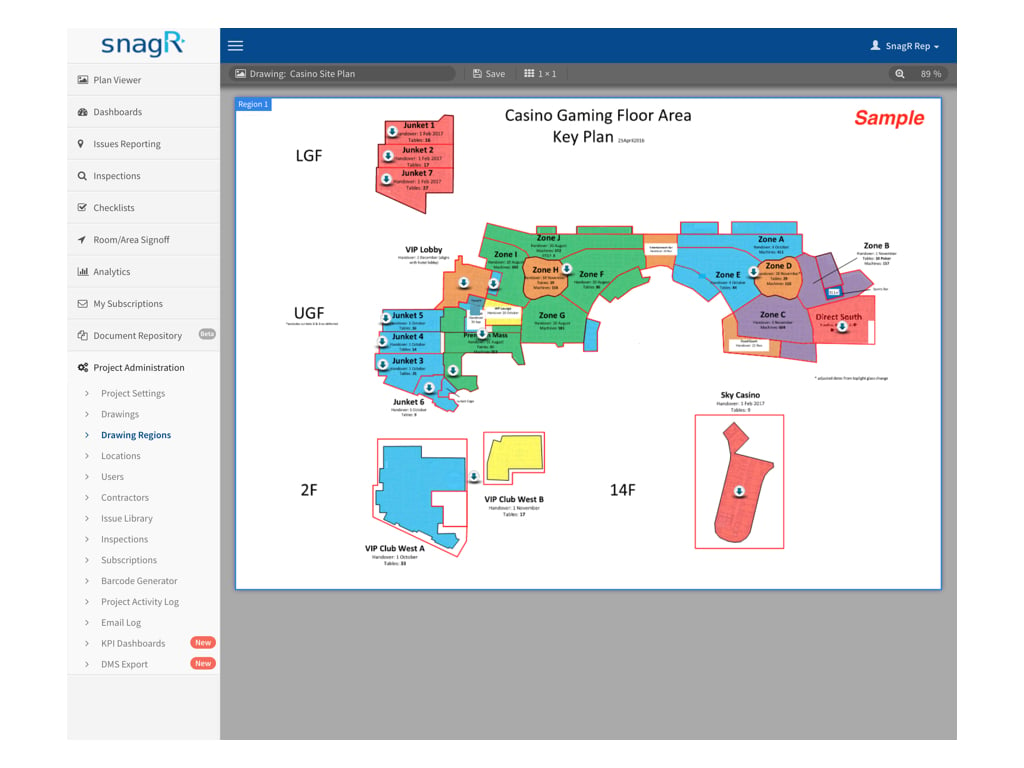
If you uploaded all of the drawings you want in the system, go into Drawing Regions under Project Administration.
Website
Sometimes at a project you would like to use large plans to navigate (for example a whole floor level), but if you use that drawing as a whole for the reports it will be scaled to A4. This means that the pins also are smaller.
Now we have Drawing Regions. With the Drawing Regions you can split up the drawing for the reports. If you want to be able to filter on a part of the drawing you still have to split the drawings.
This is only to make the drawing better visible at the reports.
If you uploaded all of the drawings you want in the system, go into Drawing Regions under Project Administration.
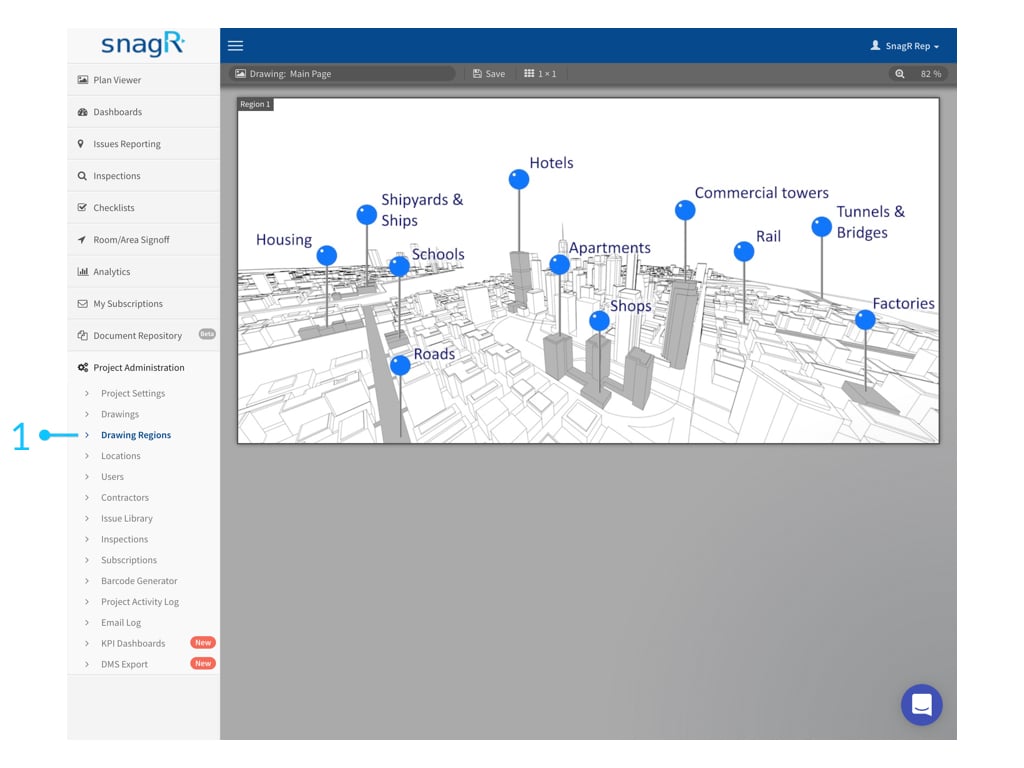
Add Regions
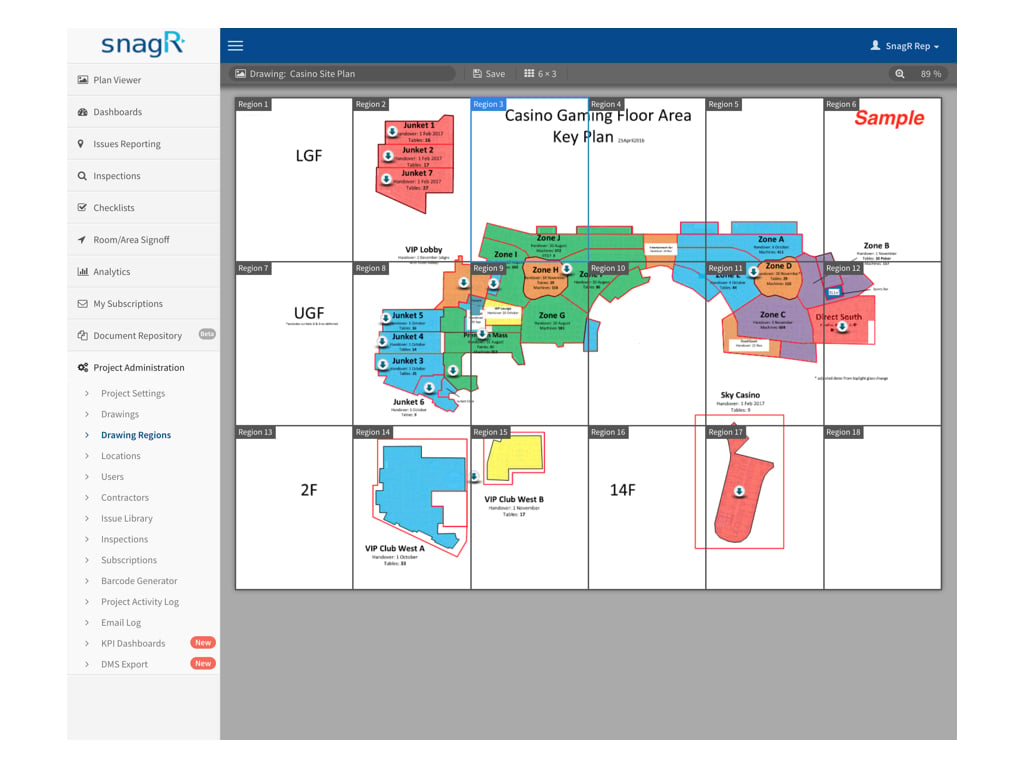
Select the drawing for which you want to make Drawing Regions at the drop down menu on the top left hand corner of the screen.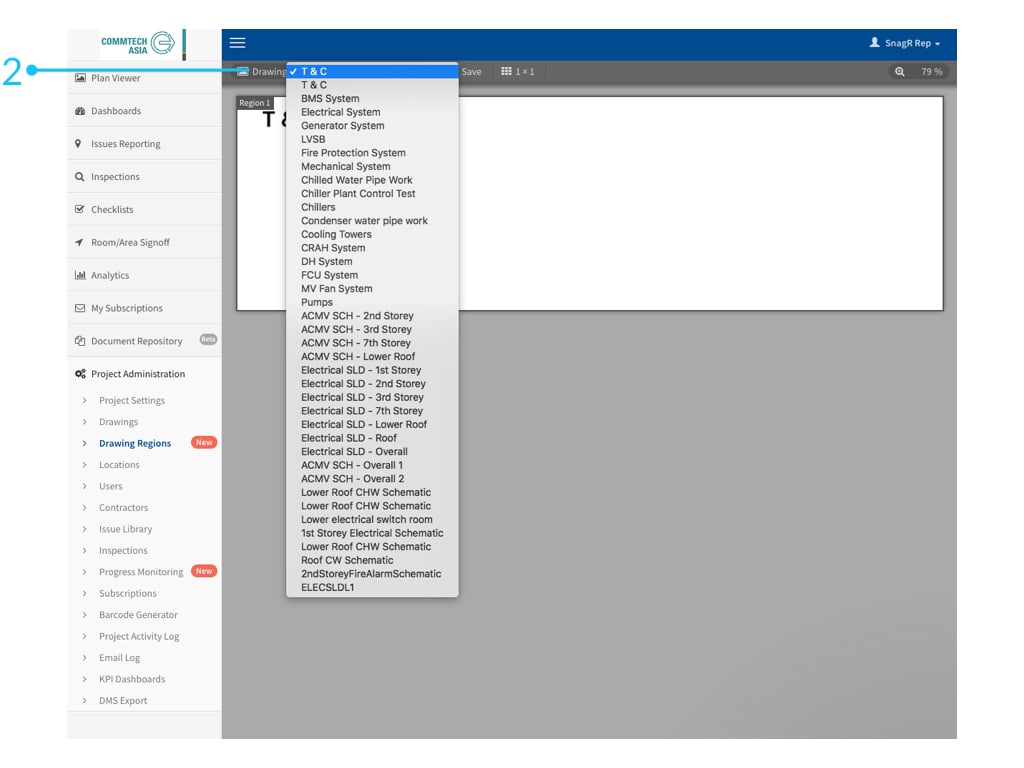
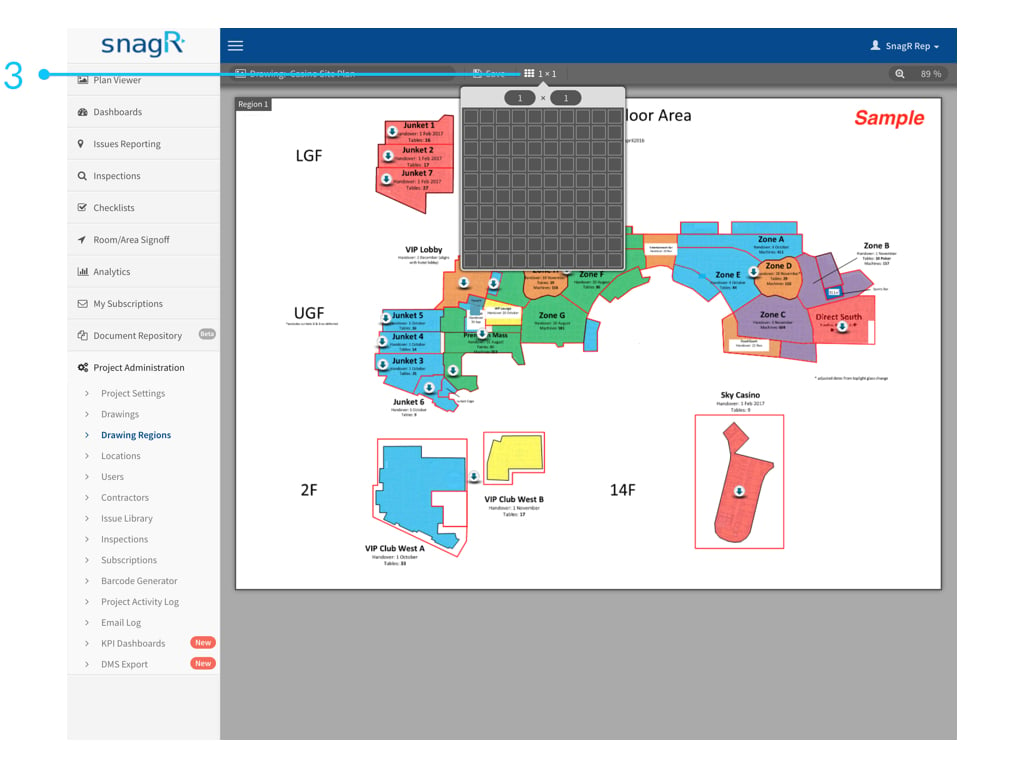
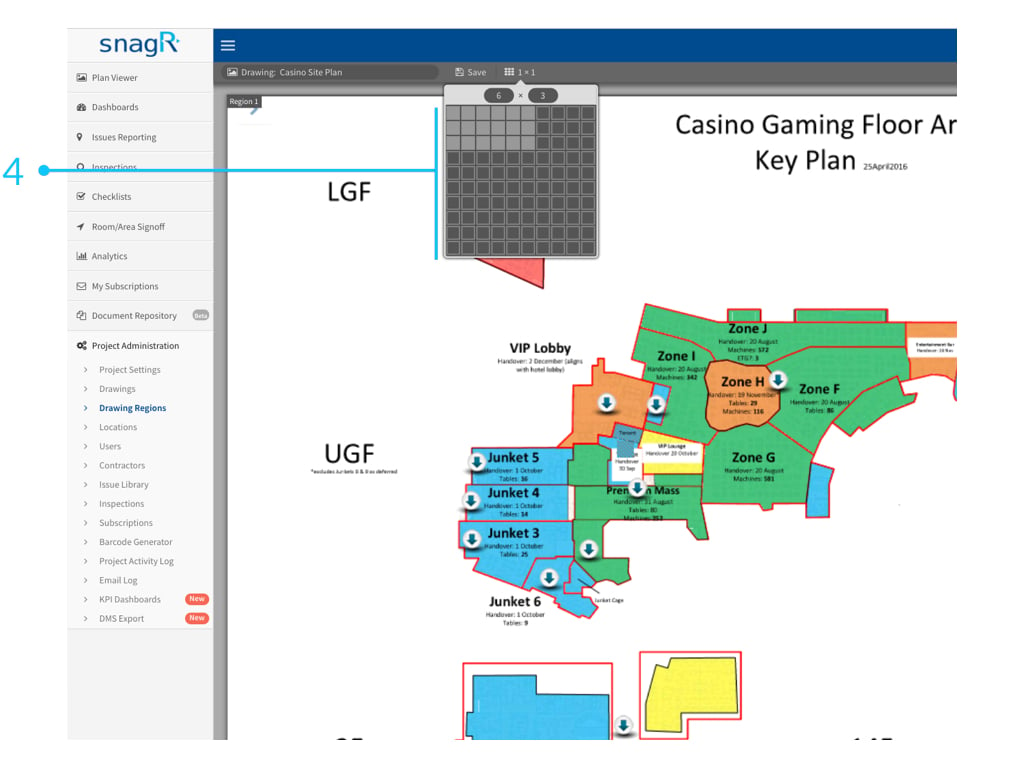
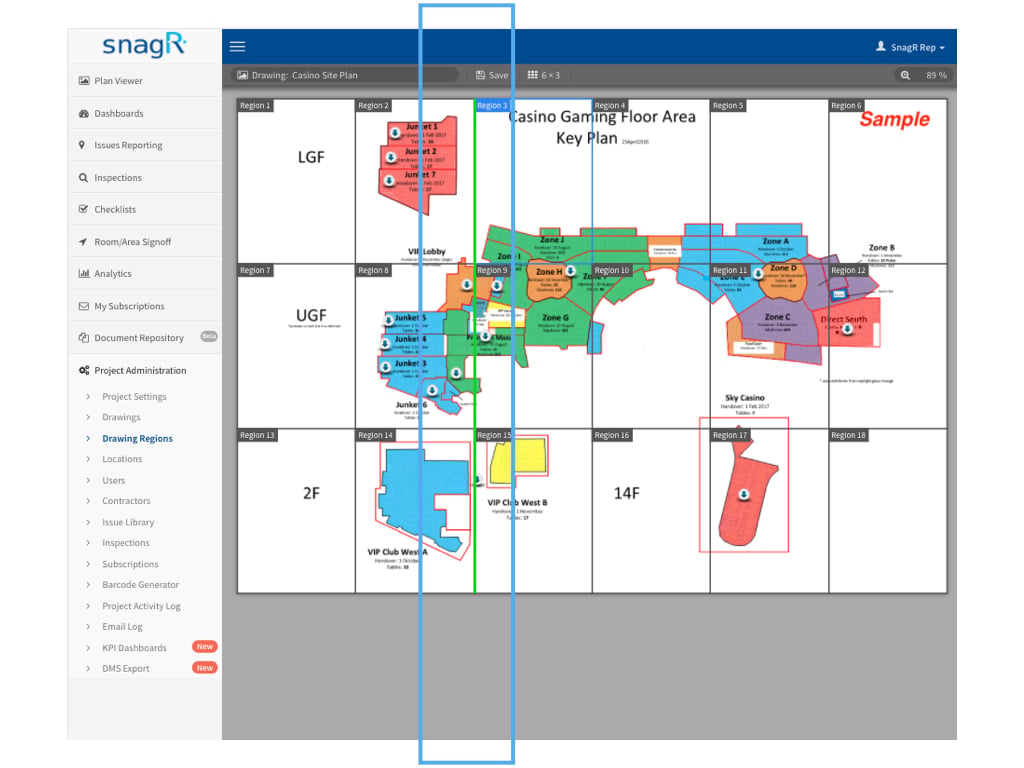
Merge / Split Regions
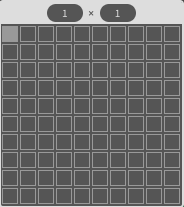
If you click and hold your left mouse button down you can select more then one region. At the top of the page Merge appears. If you click on Merge, it will merge the selected Regions.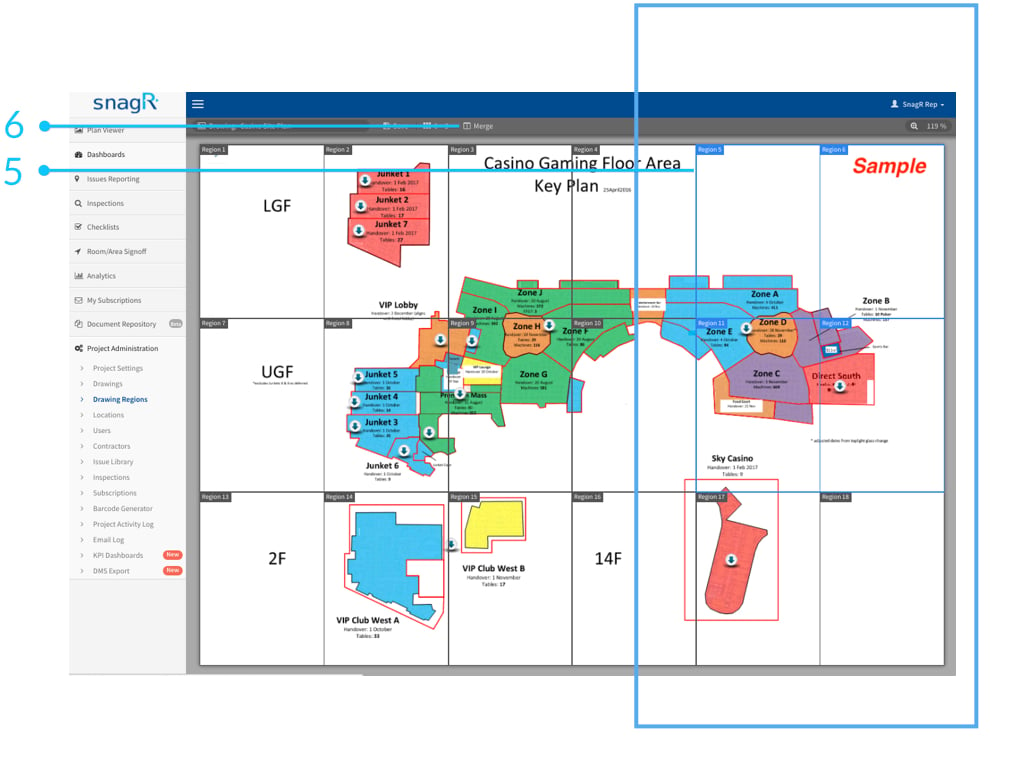
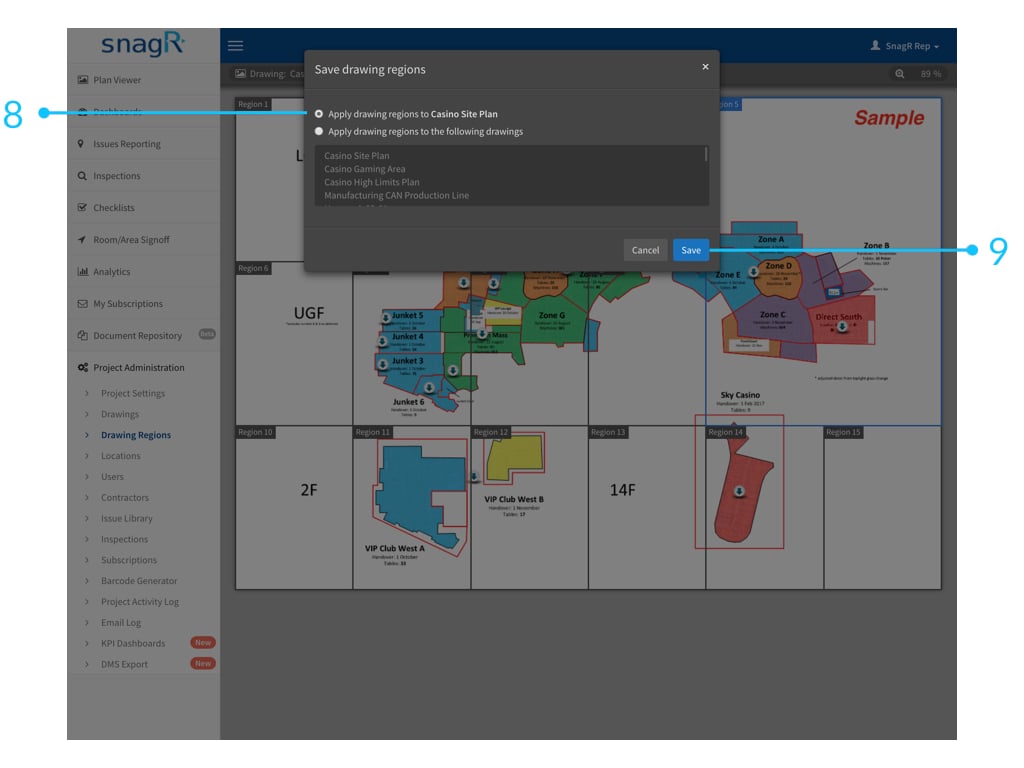
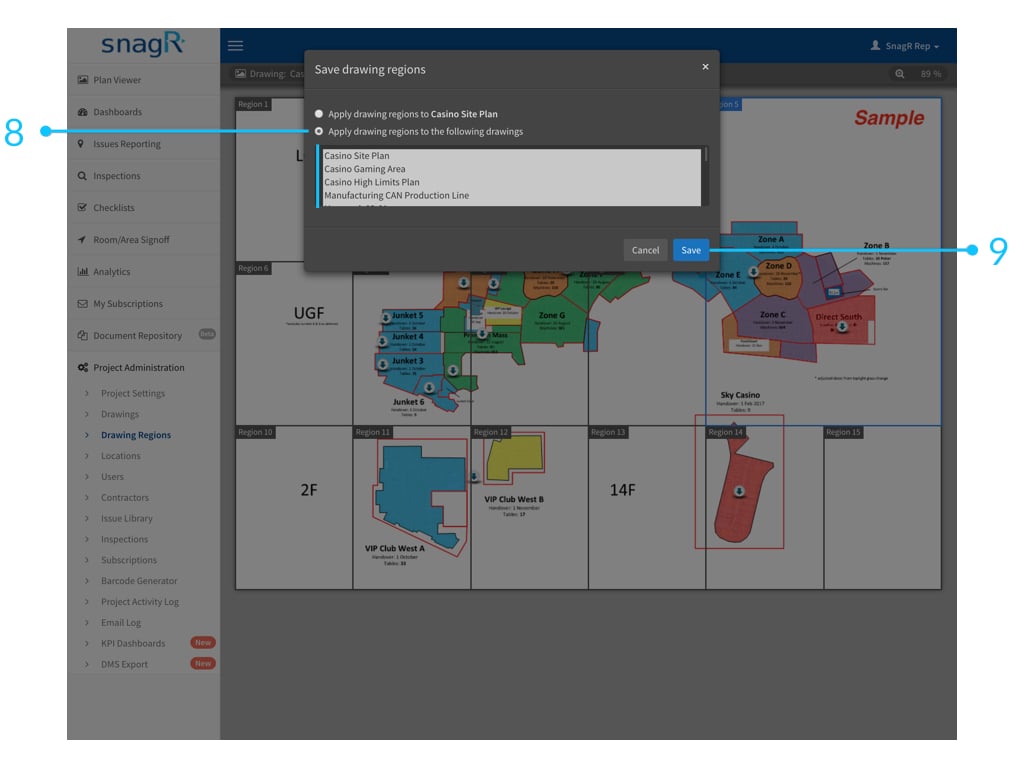
Remove Regions
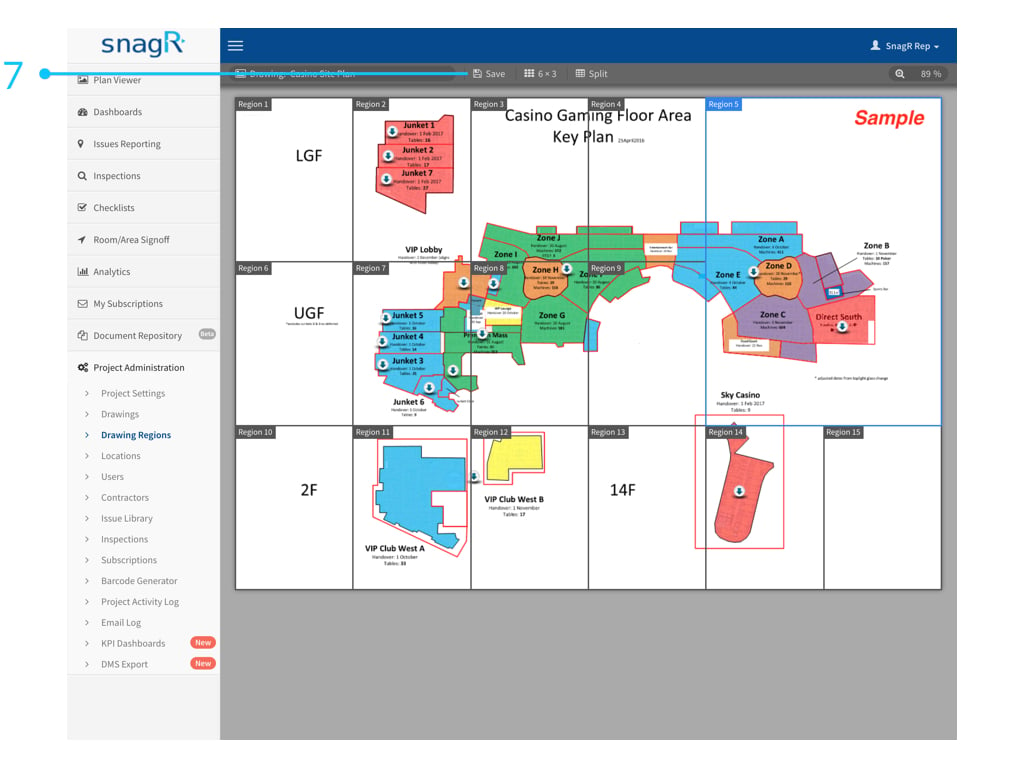
If you’re not happy with the regions after you made a report, you can always change them. Just follow the steps again to create new regions. If you don’t want any regions after all, just select one block 1 x 1